| 일 | 월 | 화 | 수 | 목 | 금 | 토 |
|---|---|---|---|---|---|---|
| 1 | ||||||
| 2 | 3 | 4 | 5 | 6 | 7 | 8 |
| 9 | 10 | 11 | 12 | 13 | 14 | 15 |
| 16 | 17 | 18 | 19 | 20 | 21 | 22 |
| 23 | 24 | 25 | 26 | 27 | 28 | 29 |
| 30 |
- 홈페이지 만들기
- 노드
- sts4
- 웹페이지 만들기
- 스프링부트
- jsp
- node.js
- 백앤드
- 이클립스
- 코딩
- Python
- 프롬포트 수정
- 백엔드
- Javascript
- 웹개발자
- 웹개발
- Eclipse
- zxing
- 문자열 자르기
- HTML
- 문자열
- spring
- 프론트엔드
- 웹페이지
- git
- QR코드
- 개발자
- 파이썬
- Spring Boot
- java
- Today
- Total
웹개발왕
[Javascript] Javascript Color Picker(Coloris) 적용하기 본문

안녕하세요. 오늘은 JavaScript 라이브러리인 Color Picker(Coloris) 적용하는 방법을 알아보겠습니다.
Coloris 적용하기
우선 Coloris 깃허브 페이지에 접속해서 js와 css 파일을 다운받습니다.
Release v0.24.0 · mdbassit/Coloris
Accept an HTMLElement or an array of HTMLElements for the el option (#139) Accept an HTMLElement for the parent option (#139) Make right-click on the saturation-brightness area behave identically t...
github.com
또는 적용하려는 페이지에 cdn 태그를 사용합니다.
<link rel="stylesheet" href="https://cdn.jsdelivr.net/gh/mdbassit/Coloris@latest/dist/coloris.min.css"/>
<script src="https://cdn.jsdelivr.net/gh/mdbassit/Coloris@latest/dist/coloris.min.js"></script>
저는 테스트만 하기위해 cdn 태그를 사용했습니다.

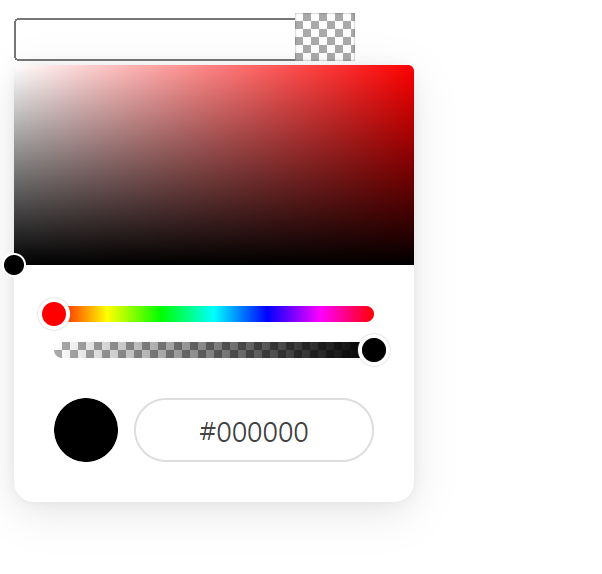
사용하고싶은 곳에 해당 input 태그를 쓰면 끝!
<input type="text" data-coloris />

이걸 그대로 쓰자니 뭔가 부족한거 같은데요.
제 입맛에 맞게 커스텀이 필요할거 같습니다.
Coloris 수정하기
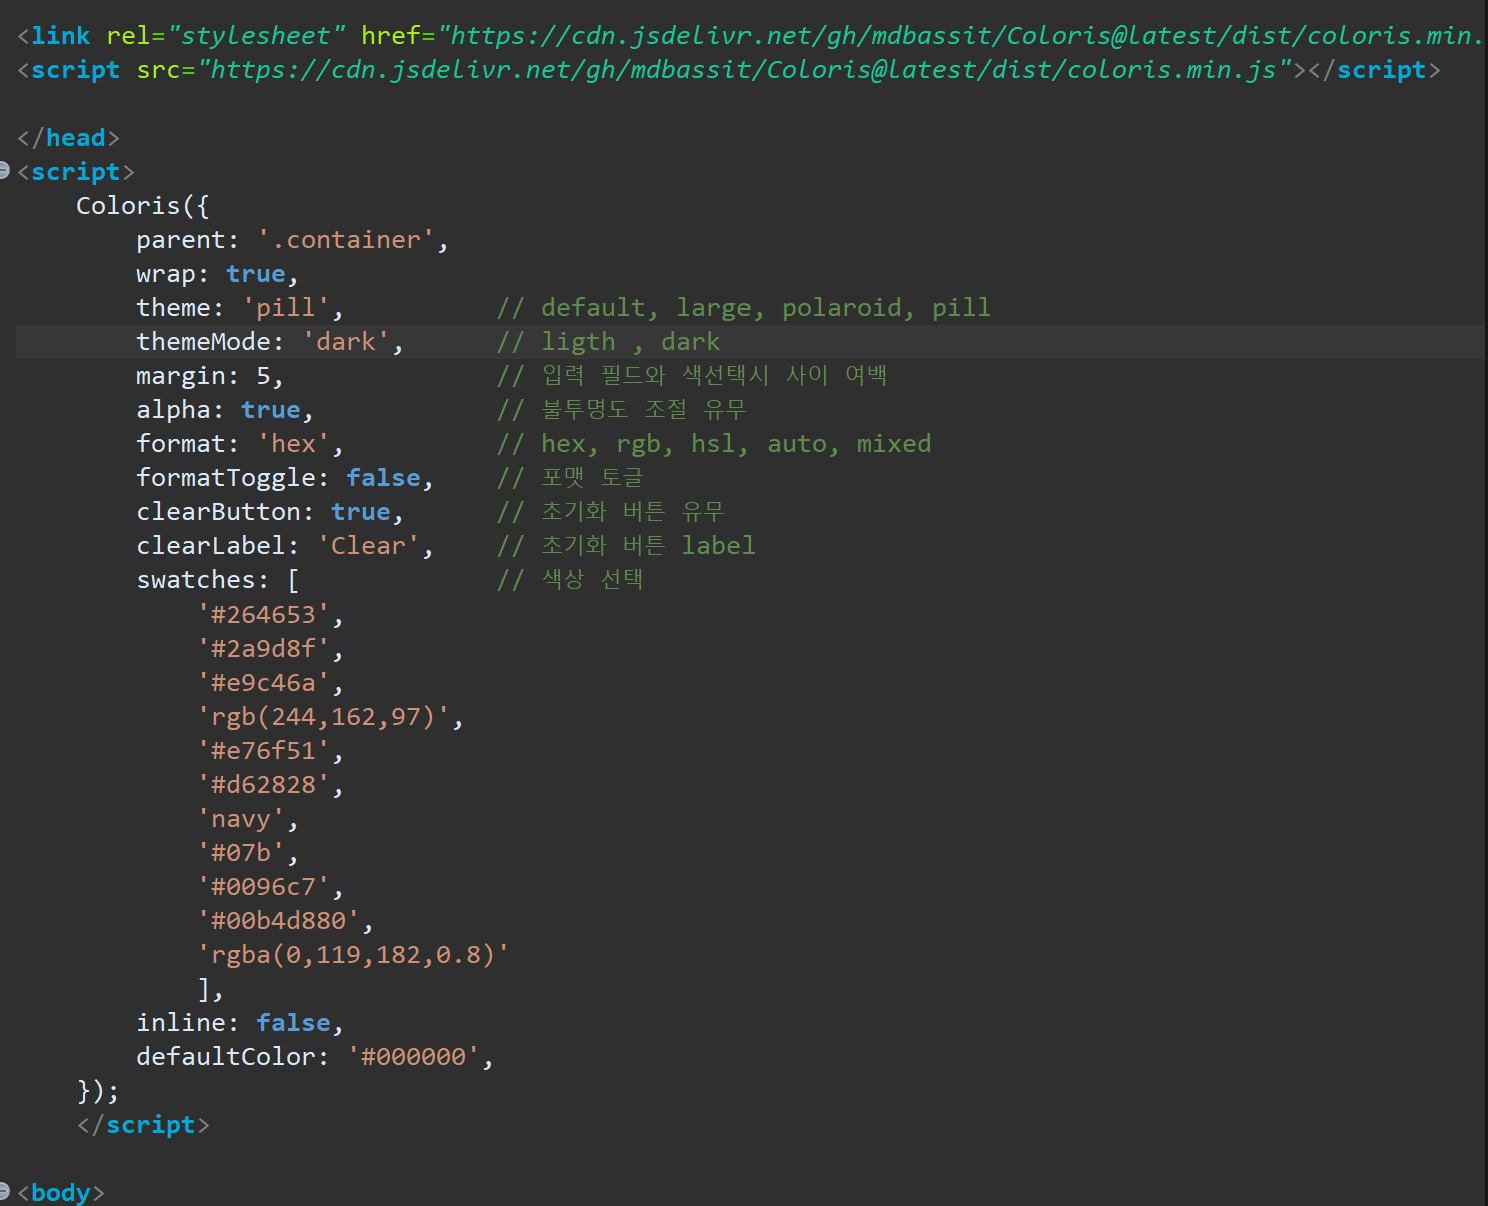
해당 스크립트 태그를 웹페이지에 추가해줍니다.
<script>
	Coloris({
		parent: '.container',
		wrap: true,
		theme: 'pill',     		// default, large, polaroid, pill
		themeMode: 'dark',   	// ligth , dark
		margin: 5,            	// 입력 필드와 색선택시 사이 여백
		alpha: true,          	// 불투명도 조절 유무
		format: 'hex',        	// hex, rgb, hsl, auto, mixed
		formatToggle: false,   	// 포맷 토글
		clearButton: true,     	// 초기화 버튼 유무
		clearLabel: 'Clear',   	// 초기화 버튼 label
		swatches: [          	// 색상 선택
			'#264653',
			'#2a9d8f',
			'#e9c46a',
			'rgb(244,162,97)',
			'#e76f51',
			'#d62828',
			'navy',
			'#07b',
			'#0096c7',
			'#00b4d880',
			'rgba(0,119,182,0.8)'
			],
		inline: false,
		defaultColor: '#000000',
	});
	</script>
주석으로 설명을 써놨으나 더 자세한 설명이 필요하다면 https://coloris.js.org/ 페이지에서 확인 할 수 있습니다.
Coloris
A lightweight and elegant JavaScript color picker. Written in vanilla ES6, no dependencies. Accessible.
coloris.js.org

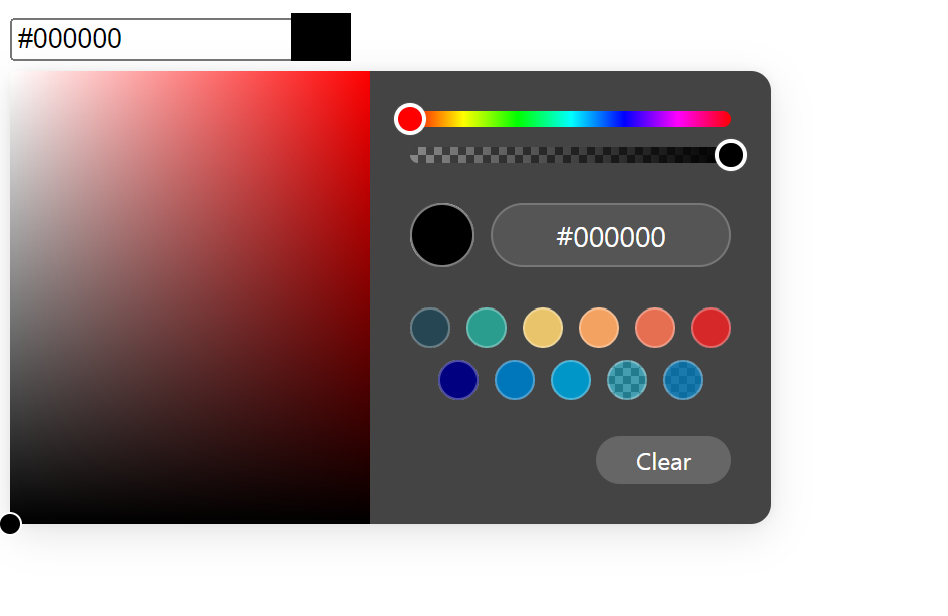
이제 웹 페이지에서 확인해보면

다음엔 더 유용한 내용으로 포스팅하겠습니다!
읽어주셔서 감사합니다.
